

Everyone loves a good flatbread—thin and crispy or thick and chewy—or even a combination of both. Leavened or unleavened, made from wheat or other grains, a food scholar could fill a lifetime researching this subject. My own introduction to preparing them began over 30 years ago making pizza from scratch at home, and I have been cooking and learning new ones ever since.
There are countless ways of making flatbreads. This recipe is a starting point for leavened flatbreads like pizza, pita, naan, lahmacun, focaccia—the list goes on. I’ll discuss variations as I go. This bread can be fried in a skillet or on a griddle, cooked on a grill or grill pan, baked on a sheet pan or baking stone. Different methods result in slightly different finished products, but I find each of them very satisfying in its own way.
Whether I’m preparing them as part of a casual meal or an impromptu appetizer to accompany drinks, at least half of the fun is the seemingly endless number of accompaniments for flatbreads you can use. Think of everything you could put on a pizza or quesadilla—practically every salsa in existence, cheeses, purées, spreads—and flatbreads are a great way to use up remnants of salads, sauces, cheeses, or dips (see Pantry). Make this your own and enjoy.
Cody’s Super-Fast Flatbread
There are a lot of words in this description, but I am covering several ways to get to the finish line, so read ahead and make a plan before you begin.
If you want to bake this bread in the oven, maybe even on a baking stone(!), begin by preheating it as high as it will go (around 450-500F) while you prepare the dough. In a food processor combine two cups of all-purpose flour, a half teaspoon of salt, 2 tablespoons EVOO, and one tablespoon of active dry yeast—I know, that’s a lot of yeast, but I wrote this recipe with speed in mind, and more yeast helps move things along. Turn on the food processor and gradually pour in one cup of warm water. When the dough gathers into a stringy ball chasing itself inside the food processor (this should take about 20 seconds), remove it from the processor bowl and, on a lightly floured surface, briefly knead it. It should be sticky, so generously floured hands will be a great help. (If you’re not using a food processor, the same thing can be accomplished by hand but it will take 5-10 minutes more.)
Variations, you ask? The dough could be made with different kinds and blends of flour. Bread flour would make the dough more elastic. Whole-grain flours, especially whole wheat (which I usually add a tablespoon or two of because it gives a slightly more rustic quality to the bread) and seeds can be interesting. Yogurt or sour cream can be added as part of the liquid component for a more Middle Eastern approach and a more tangy flavor, and it gives the bread a slightly longer shelf life after you cook it. You get the idea.
Flatten the dough into a wide disk and lay it out on a well-floured board. Cover with a damp cloth and put it in a warm place for about 30 minutes while you assemble your condiments and toppings or clean the house. The dough should begin to puff and rise, but a big rise is not necessary for this quick flatbread. When you are ready to proceed, uncover the dough and divide it into two to four equal parts with a knife, being careful to disturb the dough as little as possible. Larger or smaller breads are possible by simply cutting the dough into fewer or more pieces. Dividing it into three is what I do for my old skillet.
For the stovetop method, heat a cast-iron or other large, wide skillet or grill pan. Gently pat each piece into a round disk, then stretch each to approximately the size of the skillet bottom. If the dough resists stretching, use a rolling pin (or wine bottle) and a generous sprinkling of flour to roll out the dough. It is essentially ready to cook. If using a skillet, preheat it and then drizzle about one generous tablespoon of olive oil into the pan. For extra flavor, I like to drop a few needles of rosemary or other herb into the oil. Then place one of the stretched pieces of dough on top of the herbs. Sprinkle with a little coarse sea salt and more herbs and cover the pan for a minute or two. Peek. The dough will begin to puff a little here and there. When the dough begins to brown on bottom, turn it over and sprinkle a little more salt on the other side while it browns. If it puffs up like a pillow, gently press it down with a spatula until more reasonably flat. Total cooking time will be about five minutes, but it depends on the thickness of the bread. Continue with the remaining pieces of dough. If cooking on a grill or griddle, the process is essentially the same. If baking in the oven, maybe on a stone, simply slide the dough onto the hot surface. Chances are it will puff like a pillow in the oven. Congratulations, you just made pita bread. Flip it over and briefly (like 60 seconds), toast the other side. Voila! You’re a flatbread baker.
And remember, if your first attempt at flatbread isn’t exactly perfection—meaning that you would rather not eat it—you could always go to the park, tear it into pieces, take a walk and feed the birds. Both you and the birds will feel happier for having done that. Refreshed, go back to the kitchen and try again, taking one more step towards making this bread your own.
In Your Pantry
Tasty Toppers
Your pantry can be a one-stop shop for great toppings and dips for your next flatbread. Expand your repertoire with some of these combinations.
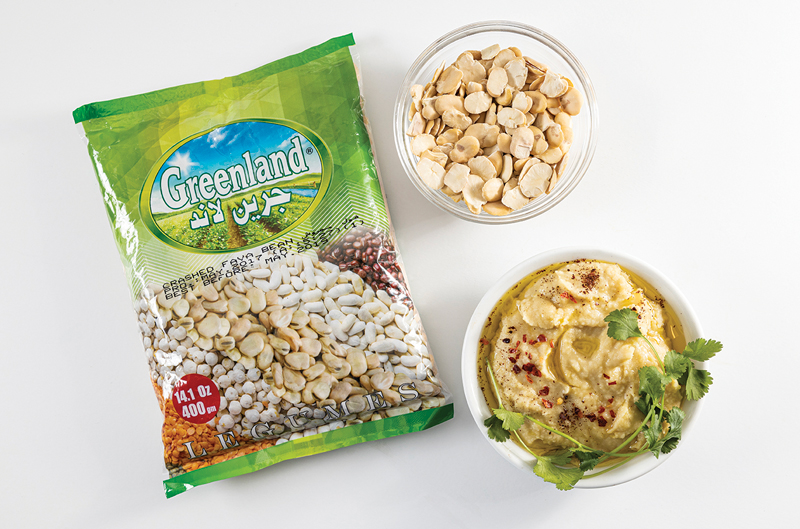
Dried Fava Beans
Similar to hummus, a delicious spread is easily made from dried fava beans (available in Middle Eastern or specialty stores). Put the beans in a pot with a clove of garlic, bay leaf, salt, a splash of oil, and water to cover. Cook until tender—about 30 minutes—adding a little water if needed to prevent scorching. Purée with an immersion blender or food processor. Adjust consistency with oil or water, and season as needed. Serve with cilantro, grilled greens, or chile oil. Be sure to use the peeled dried favas (they’re yellow/light tan, and look like partially split and chipped beans). The unpeeled version (brown, looking like whole beans) takes ages to cook and then require peeling.
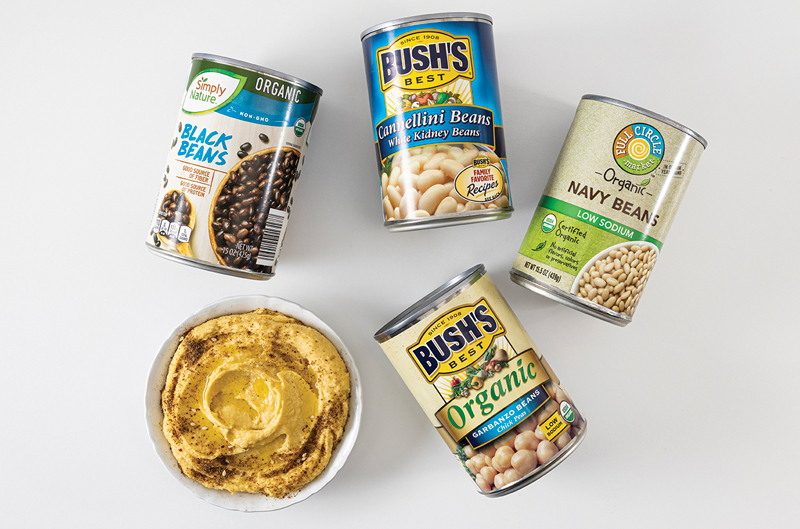
Canned Beans
Hummus made with canned garbanzo beans/chickpeas, lemon, and tahini is familiar and fast. Try substituting a jar of basil pesto and a few cloves of garlic for the tahini for a delicious Italian variation the next time you need to dip. Don’t overlook other canned beans in your search for satisfying spreads. Great Northern or cannellini beans, drained of their liquid and puréed with black-olive paste (tapenade), or black beans puréed with a dash of oregano and cumin can be a tasty foundation for an extra-happy happy hour. And don’t neglect a generous drizzle of extra-virgin olive oil for a rich finishing touch.
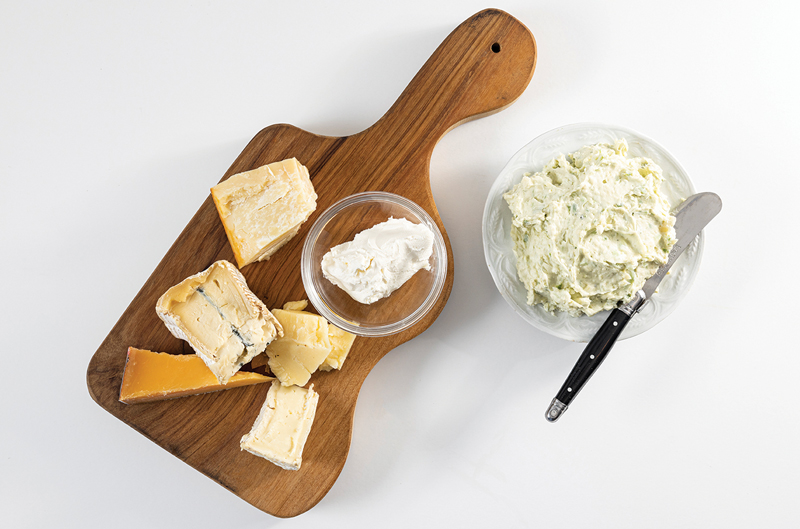
Cheese Remnants
Love cheese but don’t know what to do with those odd and aging bits—some of them much stronger than when purchased? Blue, green, yellow, white, hard or soft—whip them into a little classic French fromage fort (meaning strong cheese). Pop those cheesy bits (wax rinds—or really any rind you wouldn’t want to eat—removed) into a food processor with a clove or two of garlic and purée them to a creamy consistency. Some like to add a splash of white wine or a few herbs like chives, scallions, or parsley when processing. A creamy, more Boursin-like spread can be made by adding a little cream cheese or butter. Serve at room temperature, chilled, or lightly warmed.