
Late summer—the time of year when gardeners can be faced with an overabundance of fresh corn and zucchini—and a dearth of ideas for dealing with them. While tinkering with my summer surfeit, I came up with this versatile little crepe made of corn, zucchinis, and chickpea flour. It is simple, endlessly adaptable, and tasty. And in retrospect, its evolution was an exercise in reinventing the wheel.
It began as a suggestion from the editor to write about corn. I made the mistake of Googling corn recipes—there are not really that many in the big picture, just infinite variations on a few familiar concepts, such as slathered corn on the cob, cornbread, creamed corn, and corn salads.
Overwhelmed and underwhelmed simultaneously, I closed the computer and just sat looking at the freshly shucked ear of corn on my cutting board. There was a perfect, young zucchini next to it, and I thought about how nice they are together. I decided I would work with both, perhaps in the form of a fried cake of some kind. Having previously written about corn fritters and vegetable pakoras, frying was out, but I did like the idea from the pakoras of using chickpea flour for binding the two together.
After repeated attempts, my “cake” dwindled to the thinness of a crepe, the corn and zucchini less of the protagonist and more of a supporting player accentuated with savory and smoky spices. And I had absolutely cooked myself back to farinata, a classic Italian flatbread snack from Liguria. It is also claimed by parts of the south of France where it is known as socca. It dates back to the Romans, supposedly being baked on the backs of metal shields by soldiers.
There really is nothing new under the sun, but hopefully this crepe will be new to you and will become a new staple in your summertime repertoire.
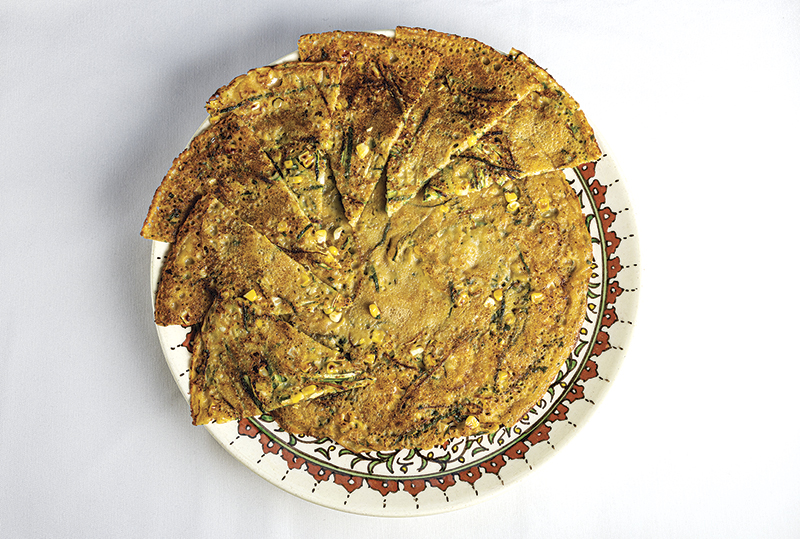
Zucchini, Corn, and Chickpea Flour Crepes
The basic batter for this crepe is essentially equal parts by volume of chickpea flour and water, plus a little fat. For a reference point, start with one cup of each, which will make one or two 12-inch crepes, depending on how thick you like them. As for the chickpea flour, there are essentially two types of flour that are called the same thing but are actually a little different—and fortunately they are interchangeable in this recipe. In the European and North American traditions, larger, lighter-colored chickpeas (also called garbanzo beans) are preferred, but smaller, darker chickpeas that are usually split in half are favored in the Middle East and South Asia (when ground into flour they are referred to as chana, gram flour or besan). The size of grind can also affect the way the flour absorbs water, so you may need to add a splash of water or sprinkling of the flour if you need to adjust the consistency of the batter. First whisk the chickpea flour with one scant teaspoon smoked salt (or regular salt if that is all you have) and one teaspoon ground cumin. Drizzle in the water while whisking the flour, then whisk in two tablespoons of ghee (I like to use ghee because of the buttery flavor and its affinity for corn) or olive oil. Try to eliminate all lumps, then allow the batter to rest for at least two hours and up to several days (if refrigerated). The resting period allows the flour to more uniformly absorb the water and the crepe will be a little more resilient and less likely to break when being handled.
In the meantime, cut the kernels from an ear of fresh corn. With a box grater or mandoline, shred a smaller zucchini into long strands, or use just the outer green layer of a larger zucchini (the cottony, seedy inside of large squash is better suited to compost pile or as fodder for your pet rabbit or chicken—the chicken will also appreciate the corn cob).
When ready to eat, turn on the broiler in your oven. On the stovetop, preheat a skillet on high. I like to cook these flatbreads in a large (12-inch) non-stick skillet.* Add two tablespoons of ghee or vegetable oil to the hot skillet followed immediately by about half a cup of the corn and half of the zucchini shreds. A delicious but optional addition here could be a generous handful of chives left long, or half a shallot, thinly sliced. Cook for about three minutes, stirring occasionally to avoid scorching. If the pan looks dry, drizzle in a bit more ghee, otherwise, gently pour about half of the batter over the vegetables, tilting the skillet this way and that to distribute the batter evenly (perhaps not perfectly) over the bottom. Continue cooking on high for about two minutes, then place the skillet under the broiler (as close as you can get it) for about three minutes more. Alternately, if you feel comfortable with your crepe-flipping skills, shake the skillet to dislodge the crepe and then with a big flick of the wrist and tip of the pan, flip the crepe and continue cooking on the stovetop for about three minutes. Do not try to flip the crepe with a spatula as it will be much too delicate for such a maneuver at this stage. When cooking under the broiler, a few scorched blisters should appear, and in either case the lace of batter around the edges should be dark brown and crispy, perhaps even smoking a little. Slide the crepe onto a cutting board and allow it to cool briefly before cutting and serving. Continue cooking with the remaining batter and vegetables. Your diners won’t settle for just one.
This crepe, or farinata, is a fantastic starting point for variations. Traditionally, it is made without the corn or zucchini, and might be made a little thicker (one batch of batter for a whole 12-inch skillet). It can be cooked longer and made more dry and cracker-like. Certainly other vegetables could be added or used as a topping, as could any number of herbs or seasonings—chickpeas have a great rapport with spices, so your favorite curry blend would be lovely here. It could be stuffed and rolled like a cannelloni, or layered for a gluten-free lasagna. Regardless of the modifications, don’t bother trying to reinvent the wheel. Enjoy the bounty of the summer while it lasts with a little help from an ancient idea.
*Note: If you don’t have a skillet that size, buy one. It is the single, most-used piece of equipment in my kitchen. I cannot imagine not having a skillet this size for cooking at home, as I can cook an entire meal for two people in it. The generous size allows for room to move things around, and cook things quickly. That being said, you could certainly cook these crepes in a smaller skillet, especially cast iron. You will simply have to make more of them.
In Your Pantry: Better Butter
Unless you like to go exploring in the dairy section of better grocery stores, you might not realize how many types of butter there are. The big differences are salt and fat content. But for the curious palate, there are even more variables to experience.
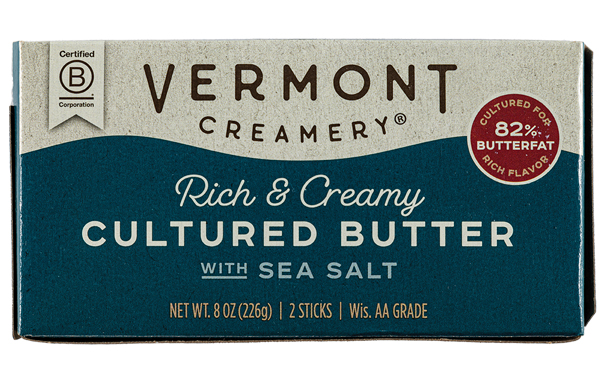 Cultured
When the cream to be churned to butter is inoculated with cultures (as in live yogurt) and allowed to ferment briefly, the flavor becomes more complex, even tangy. This is the perfect butter for slathering on your morning toast or baking into homemade brioche. Occasionally you can find cultured butter at farmers markets (behind the counter, sometimes from unpasteurized milk—-gasp!). “Wild” butter like that can take on a funk not unlike an extremely mild blue cheese. Delicious to some, mildly off-putting to others.
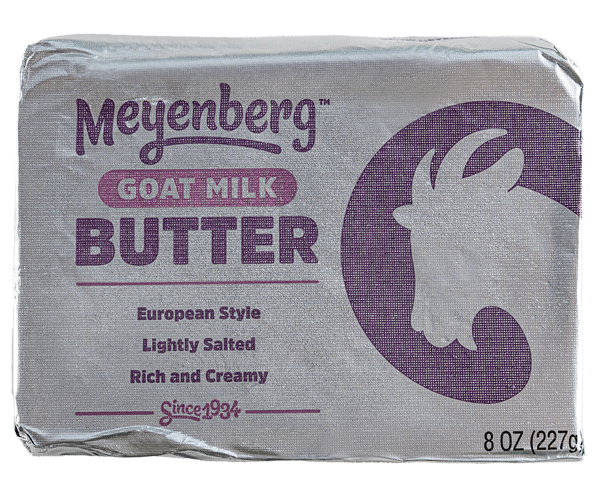 Non-Bovine
Butter isn’t just about milk from cows—a brilliant butter is made from goat milk. It is pale, almost white, and is soft and spreadable, even at refrigerator temperature (although its delicate flavor really shines at a cool room temperature). In addition to being delicious, goat butter, like goat milk, is often an acceptable alternative to those who are sensitive to bovine milk.
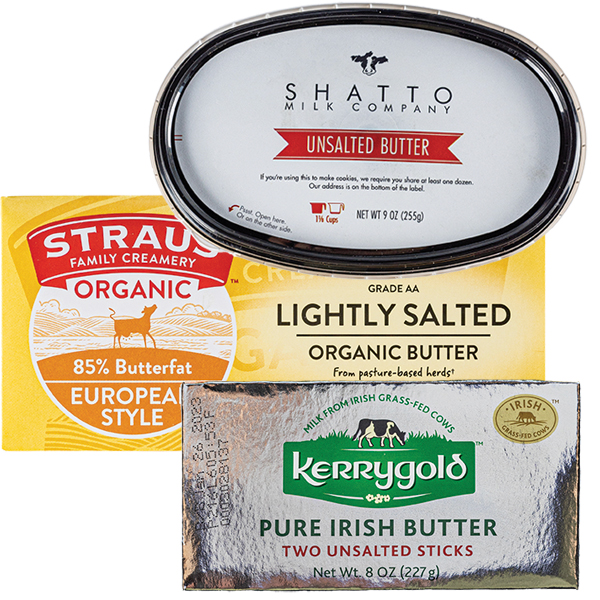 Salty and Sweet
Traditionally, most butter was salted for preservation. Refrigeration has eliminated that requirement and now salt is used primarily for flavoring. Because the amount of salt can vary substantially, especially from brand to brand, bakers, cooks (and those closely watching their salt intake) can use unsalted butter (AKA sweet butter) so they have complete control when seasoning. The minimum fat content in American butter is 80 percent compared to 82 percent in Europe, but most high-end butters meet or exceed even the European standard. Irish butter takes it a step further using grass-fed cows for more flavorful, healthful butter. The labels will tell you everything you need to know.
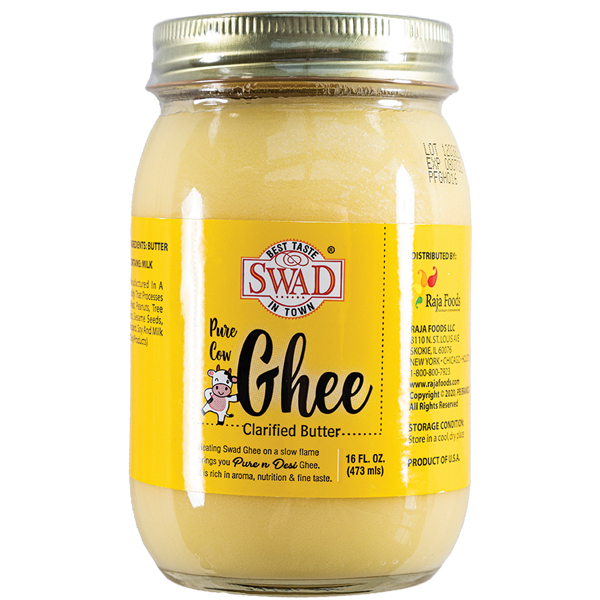 Ghee/Clarified
When butter is heated to the point that all water is evaporated and the dairy solids separate from the fat (some impurities float to the top, most sink to the bottom), and the pure fat is separated from the other particles, the result is clarified butter. The process is easily accomplished at home, but does require a bit of time and patience. The resulting product is incredibly stable at room temperature, and can be heated to extremely high temperatures before smoking, making it an excellent choice for high-temperature cooking (unlike extra-virgin olive oil which smokes at a relatively low temperature). Ghee is a specific Indian classification of butter in which the butter is simmered for a period of time to become more aromatic with a rich, nutty flavor.