
One of my staple autumn ingredients is butternut squash. It is incredibly versatile, pairs well with other flavors, and fits comfortably within a meal anywhere from appetizer all the way through to dessert. Butternut squash is a part of a large and extended vegetable family (technically a fruit) that stores perfectly at room temperature for months, all the way through the winter season, earning the entire group the generic name of “winter squash.” They all have a similar mildly sweet flavor profile and are a great source of complex vegetable carbohydrates, fiber, and nutrients. Some of the better known varieties include acorn squash, Kabocha, Hubbard, Delicata, field pumpkin, and Calabaza, and are interchangeable in many recipes. Although I most often use winter squash as a side dish, any of them can easily become the main attraction of a meal.
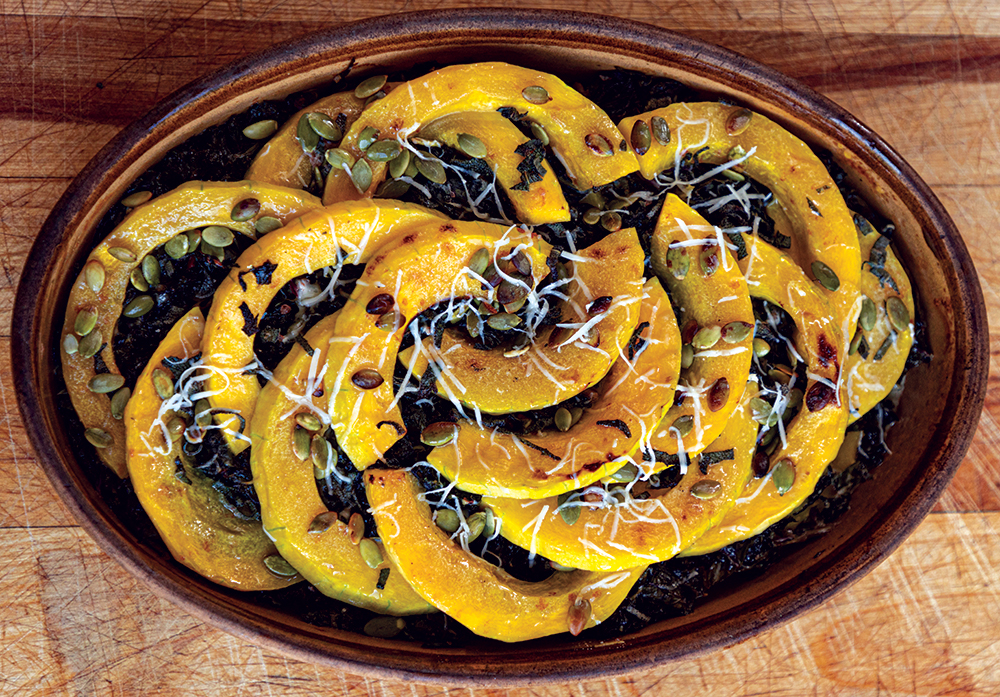
Because of their versatility, I love to combine them with other vegetables. The amalgamation of subtly sweet squash and earthy-savory greens is one I especially adore, and one I frequently use in soups, pasta, or risotto. Here they commingle in a gratin, each keeping its own identity yet creating a more satisfying whole. As for the greens in this recipe, you can use whatever you prefer or have available—just keep in mind that the preliminary cooking time of the greens could vary significantly depending on their sturdiness, so adjust accordingly.
Begin by preheating the oven to 400°F.
My suggestions are for a smaller butternut squash, a little over two pounds. You can vary the amount of greens you use—I like to use a lot, say two big bunches. Rinse the greens (I used Swiss chard and kale because that’s what was growing in the garden) and remove the tough stems, discarding them (or in the case of Swiss chard, reserve them for other preparations like soups and stocks—because they are delicious). Cut the leaves into big shreds. Begin by sautéing a few cloves of sliced garlic (the more the merrier—I used about six) in olive oil until it turns golden on the edges. Add the shredded greens, a good pinch of salt and a little splash of water, stir, and then cover for a minute or two while the greens begin to wilt. Uncover and toss or stir the greens some more. Cover again. If using spinach, this might just take a minute or two (and you wouldn’t need any water at all), but sturdier greens will take approximately ten minutes for the greens to begin to become tender. During this time, keep an eye on them so they don’t scorch (reduce the heat and/or add a splash of water if needed). While the greens are cooking, peel and clean the squash: cut the bottom and top ¼ inch off of the squash, peel the squash with a vegetable peeler, slice the squash in half lengthwise and scoop out the seeds. Slice each half crosswise into 1/3-inch-thick slices. Lightly rub a baking dish with butter or oil. Layer the squash in the bottom of the dish with the edges slightly overlapping in a shingle effect (I use the “bottom” half-moon slices of the squash first and save the skinny slices for the top for the sake of appearance). Sprinkle with salt and pepper and about two tablespoons of chopped fresh sage leaves. A generous grating of fresh nutmeg would be delicious as well. When the greens are done, layer them on top of the squash so that it is entirely covered. Arrange the remaining squash slices on top, overlapping as needed. Sprinkle again with salt and pepper, another two tablespoons of chopped sage and then pour over about a cup of heavy cream. Cover the dish with a lid or foil and bake for about 30 minutes. Check at this point to see if all of the cream has been absorbed or has evaporated. If the dish is dry you could add a bit more cream, some water or stock, recover the pan and continue cooking. After 15 minutes, remove the lid and test the squash for doneness by poking with a knife. It should be completely tender, but most likely will need a bit more cooking. Sprinkle with grated cheddar or parmesan cheese. I like to top the dish with pumpkin seeds, sliced almonds, or even lightly oiled panko breadcrumbs and continue cooking for about 15 minutes more until the squash is completely tender and the cheese melts and the nuts or seeds are crispy and toasted. Remove the dish from the oven and cover it lightly with the foil until you are ready to serve.
This dish reheats beautifully and is wonderful on a holiday buffet. It also has the benefit of being both a starch and vegetable. The greens still retain their braised texture and the squash has its velvety starchiness, but their flavors unite as a warm and comforting dish that is sure to please a crowd.
In Your Pantry
Now that winter squash season is here and you have it for the next few months, try some of these pantry staples to enhance your squash preparations.
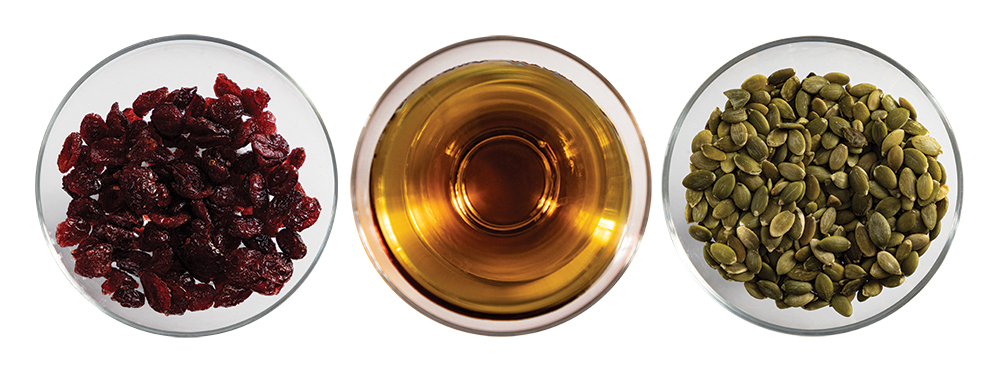
Cranberries
The bright, tangy flavor of cranberries provides a delicious contrast to the sweetness of winter squash. Dried cranberries (which have usually been sweetened a bit) are ready to toss directly into squash-based salads or sprinkle onto finished dishes, but fresh and frozen cranberries need a little bit of help first. Toss them with a drizzle of honey or dark maple syrup and roast them (perhaps along with the squash) until they just pop and the syrup or honey reduces to a thick glaze.
Dark Maple Syrup
Formerly known as “Grade B” maple syrup (someone obviously realized “Grade B” was not a good marketing tool for anything), dark maple syrup has a more intense flavor and color and is great for cooking. It is great for glazing roasted winter squash or perhaps reducing even further to make a beautiful syrupy drizzle for finished dishes (even ice cream!). And the price is usually better than that of “Light” maple. Available at larger grocery stores and specialty markets.
Pumpkin Seeds
Add a squash-related crunch to your squash dishes by sprinkling them with pumpkin seeds. Available either toasted (and usually seasoned) or untoasted (which gives you the ability to season them to go with your dish). Available in the nut, seed, and dried fruit section of grocery and Mexican specialty markets (where they are known as “pepitas”). Just be sure to get the ones that have already been removed from the hull!